How To Write A Professional Letter & Make A Lasting Impression

 There will likely come a time in your career when you’ll need to write a professional letter—whether to apply for a job, ask for a favor, or even politely resign.
Writing a professional letter can seem like a daunting task at first. You may be asking yourself:
There will likely come a time in your career when you’ll need to write a professional letter—whether to apply for a job, ask for a favor, or even politely resign.
Writing a professional letter can seem like a daunting task at first. You may be asking yourself:
- What information do I need to include?
- What should my tone of voice be?
- How can I get my point across without sounding too demanding?
How To Write A Professional Letter
Writing a professional letter is a skill of its own. However, If you know how to write a blog post or you’ve written a newsletter for your company’s email list in the past, then you probably already know a thing or two about formal writing.There are four key components to writing a well-crafted letter:
- Determine the purpose of your letter
- Gather necessary information and research
- Draft the letter
- Edit and proofread the letter
1. Determine The Purpose Of Your Letter
If you’re researching how to write a professional letter, you probably have a specific goal in mind. In my experience, the purpose of your letter typically falls into one of three buckets:- You’re requesting something
- You’re providing information
- You’re responding to a request

Purpose #1: Requesting Something
If you are requesting something in a letter, you should structure the letter as follows: Introduction: State the letter's purpose, explain why you are writing, and offer some value in return to the recipient. Body: Provide details about your request and any relevant background information. Conclusion: Restate your request and provide a clear call to action.Purpose #2: Providing Information
If you are providing information in a letter, you should structure the letter as follows: Introduction: State the purpose of the letter and share what the information is about. Body: Provide the information that you are sharing. Conclusion: Thank the reader for their time and attention, and provide any necessary contact information.Purpose #3: Responding to a Request
If you are responding to a request in a letter, you should structure the letter as follows: Introduction: Acknowledge the request and thank the reader for their inquiry. Body: Respond to the request. Conclusion: Restate your response and kindly ask the reader to contact you should they need further clarification.2. Gather Necessary Information & Research
This step is, in my opinion, the most crucial part of the whole letter-writing process. That’s because the research phase allows you to retrieve information about the person you’re addressing to help build rapport. For example, let’s say you write high-converting white papers for businesses and want to reach out to a cold prospect because you think they would be a good fit. A generic letter asking for 15 minutes of their time likely won’t generate a response. However, if you can research the prospect by finding some of their past work and figuring out what they like/dislike, you can build their “online personality,” so to speak. A couple of great places to start gathering information are either on LinkedIn or if the company has written an insightful about us page. Using my own LinkedIn profile as an example, you can scroll down to the publications section to see if your prospect has recently published any articles. Linkedin is a great place to gather information for your letter. You can then read through these articles and give praise, ask a question, or provide insightful data directly in your letter. Try to be as specific as possible here, and don’t just write something like: “I read one of your articles and really enjoyed it!”. That’s way too generic and gives the impression that you didn’t read the article at all. Instead, try to write something that provides them value like this: “I read your article [article name] and thought tip #7 about [topic] was a great point. I have some data of my own I’d love to share with you to help bolster your argument if you’re interested?”. Right off the bat, you’re providing value to your letter’s recipient, thus increasing your chances that they’ll read the rest of your letter and act upon your request. You can also use a company’s About Us page to gather more information about the person you’re reaching out to. Take Canny’s About Us page, for example: View the Canny page for an example.
The page features a few personal details about every person on the team. Things like their hobbies, past work experience, and a funny anecdote.
This is another great method for building the “online personality” of the person you’re writing a letter to.
View the Canny page for an example.
The page features a few personal details about every person on the team. Things like their hobbies, past work experience, and a funny anecdote.
This is another great method for building the “online personality” of the person you’re writing a letter to.
3. Draft The Letter
Now that you’ve determined the purpose of your letter and gathered preliminary information, let’s get into exactly how to write a professional letter, section by section.Section 1: Header
The first part of a professional letter should include the contact information of both the sender and the recipient. This information tells the reader exactly who the letter is from and who is the intended recipient. This section should include the following:- Your name
- Your job title
- Your company name (if applicable)
- Your full address
- Your contact information (phone and email)
- Date
- Recipient’s name
- Recipient’s job title
- Recipient’s company name
- Recipient’s company address
Section 2: Salutation
In most professional letters, the salutation begins with “Dear” followed by either:- Mr.
- Mrs.
- Miss.
- Ms.
- Dr.
- or a Title (e.g., Professor)
Section 3: Body Of The Letter
This is the main part of the letter, where you communicate your message. The body should include the following four paragraphs:- The first paragraph should quickly introduce yourself, followed by a sentence that provides value to the recipient. *You don't need to do this if you are responding to a request or providing information. However, if you are requesting something, providing value will increase the odds that you will get a response.*
- The second paragraph should explain why you are contacting the recipient.
- The third paragraph should include one or two sentences about you or your company to provide the recipient with some background information.
- The fourth paragraph should reiterate your request and explain how it benefits them, followed by a short CTA.
Section 4: Closing
In closing, you should thank the recipient for their time and end the letter with a simple "Sincerely" or "Best regards."Section 5: Signature
Include your handwritten signature followed by your printed name.Section 6: Enclosures (optional)
If you are including any documents or materials with the letter, you should list them here. These could include a resume, references, a sales brochure, or other documents.Section 7: Postscript (optional)
A postscript is a brief message added to the very end of the letter. It typically adds additional information or highlights a specific point. This section is optional but helps make your letter stand out.4. Edit & Proofread The Letter
Once you’ve written your final draft, it’s time to edit and proofread your letter. This step is essential regardless of what you’re writing, whether it’s a press release, an email campaign, or a reference for a previous co-worker. Editing involves revising the letter's content to ensure it is clear, concise, and well-written. To help with the editing process, I like to paste the content of my letter into the Hemingway App. This app provides you with a readability grade to tell you how easy it is to read. It also highlights passive voice, adverb usage, and word alternatives. Use Hemingway to help with the editing process.
Once I’ve achieved a readability score I’m happy with, I’ll paste the contents into Grammarly for proofreading. This app is great for catching any grammar or spelling errors you might have made along the way.
It’s also a good idea to have a friend, or family member read over your letter as well. A fresh set of eyes can often catch mistakes you may have missed.
Take the time to carefully review and proofread the letter before sending it to ensure it is polished and error-free. This step will help to make a positive impression and increase the chances of the letter achieving its desired outcome.
Use Hemingway to help with the editing process.
Once I’ve achieved a readability score I’m happy with, I’ll paste the contents into Grammarly for proofreading. This app is great for catching any grammar or spelling errors you might have made along the way.
It’s also a good idea to have a friend, or family member read over your letter as well. A fresh set of eyes can often catch mistakes you may have missed.
Take the time to carefully review and proofread the letter before sending it to ensure it is polished and error-free. This step will help to make a positive impression and increase the chances of the letter achieving its desired outcome.
Example Template
Without an example, it can be difficult to visualize exactly how to write a professional letter. I’ve created an example template below that outlines how a standard professional letter should look. Depending on the purpose of your letter, parts of the body may need to be modified. This template will give you a jumping-off point. Header
Your name
Your job title
Your company name (if applicable)
Your full address (or company address)
Your phone number
Your email address
Full date ( e.g. January 3, 2023)
Recipient's name
Recipient's job title
Recipient’s company name (if applicable)
Recipient's or company’s address
Salutation
Dear [Recipient’s Name],
Body of the Letter
My name is [Your Name], and I thought you made some great points in your latest
[video, article, podcast]
about [Topic]. [Provide one sentence of value related to the topic to help build rapport and entice them to get back to you].
I am writing to you today to request [your request in one or two sentences].
I am [describe yourself or your business in one sentence].
I believe that [explain why you think your request is a good fit or how it will benefit them in some way]. I would be more than happy to discuss this further with you and answer any questions you may have.
Closing
Thank you for your time, and I look forward to hearing from you soon.
Sincerely,
Signature
[Signature]
[Your Name]
Enclosures
I’ve included [provide a list of any additional documents you included with your letter]
Postscript
P.S. [Include a short postscript to make your message stand out. Try to incorporate something that you found through the research phase].
Header
Your name
Your job title
Your company name (if applicable)
Your full address (or company address)
Your phone number
Your email address
Full date ( e.g. January 3, 2023)
Recipient's name
Recipient's job title
Recipient’s company name (if applicable)
Recipient's or company’s address
Salutation
Dear [Recipient’s Name],
Body of the Letter
My name is [Your Name], and I thought you made some great points in your latest
[video, article, podcast]
about [Topic]. [Provide one sentence of value related to the topic to help build rapport and entice them to get back to you].
I am writing to you today to request [your request in one or two sentences].
I am [describe yourself or your business in one sentence].
I believe that [explain why you think your request is a good fit or how it will benefit them in some way]. I would be more than happy to discuss this further with you and answer any questions you may have.
Closing
Thank you for your time, and I look forward to hearing from you soon.
Sincerely,
Signature
[Signature]
[Your Name]
Enclosures
I’ve included [provide a list of any additional documents you included with your letter]
Postscript
P.S. [Include a short postscript to make your message stand out. Try to incorporate something that you found through the research phase].
Print & Send The Letter
Unless your handwriting is top-notch, it’s more than likely that you’ll be typing your letter out on your computer and then printing off the final version to add your signature. But by all means, if you can handwrite a complete letter with excellent penmanship, then go for it! It will certainly add a personal touch to your correspondence.Font
Before rushing over to the printer and collecting your freshly printed professional letter, you’ll need to ensure that your letter's overall aesthetic is up to par. As you likely won’t be adding any images or colors, it all comes down to your chosen font. A few common fonts used in professional letters are:- Times New Roman
- Arial
- Verdana
- Calibri
Paper
When choosing the paper, it’s important to go with something high-quality that conveys professionalism. Here are a few things to keep in mind:- It should be a heavy stock, preferably with a watermark.
- The color should be neutral, such as white or ivory.
- The size should generally be 8.5x11 inches.
Envelope
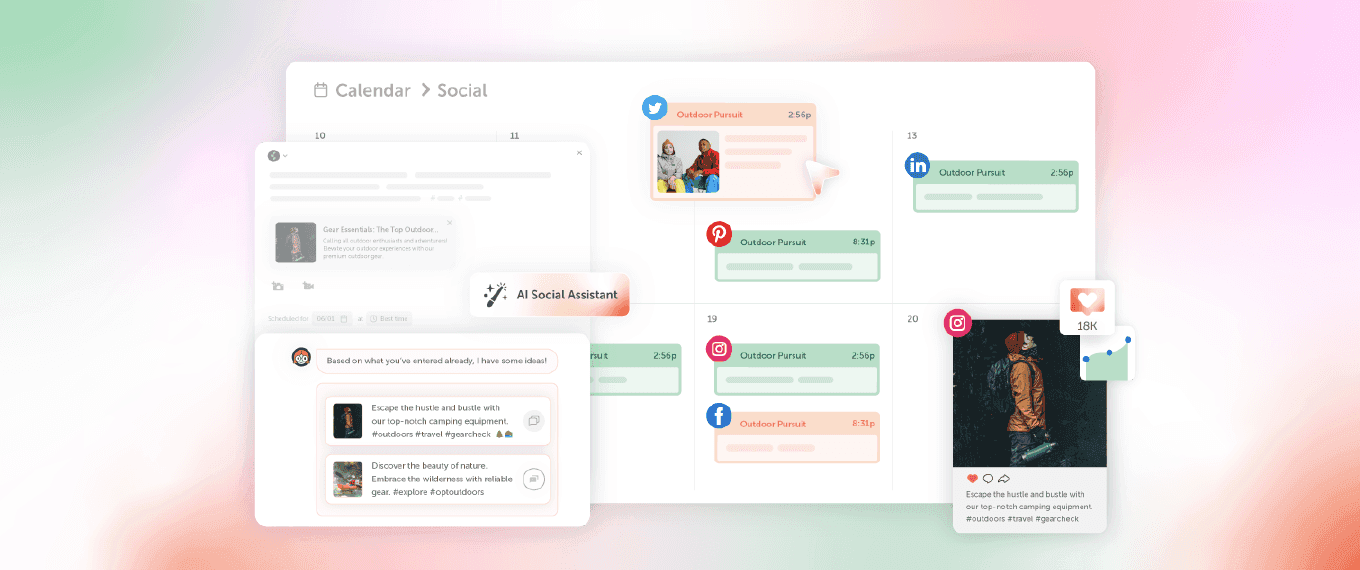
You should formally address the envelope to the recipient, including their name, title, company name, and full address. The return address should also be included on the envelope, typically in the top left corner. Once the letter is properly addressed, sealed, and stamped, you should send it via a tracked postal service to ensure it reaches its destination. This is especially important for time-sensitive correspondence.Use CoSchedule Marketing Calendar To Seamlessly Conduct Your Professional Letter
CoSchedule’s Marketing Calendar provides features, tools, and products to guide you through any project. Choose due dates, assign sub-tasks, and review edits to effortlessly achieve a polished professional letter in a timely manner.1. Create A New Project
Click the “Create” button in your Calendar to create a new project. Select the label that best fits writing a professional letter, which in this case is Project. Choose a deadline date for when you want to complete your project. Click “Create Project” to start laying out the steps to accomplishing your professional letter.
2. Organize Your Project
Include any custom attachments you may need throughout the project. Marketing Calendar includes a handful of Project Attachments to help connect you with the resources you need. To include your preferred writing tool, you can select the tab labeled “Google Doc” and from there you can create a new document or add an existing document.

3. Delegate Tasks
Be confident that every task necessary for your project is taken care of. Using CoSchedule Marketing Pro makes it easy to assign tasks for smooth transitions throughout your project, so every task is handled. Once your project is created, You can begin adding tasks to your project. From there, you can assign the tasks to a specific contributor responsible for completing that task. After the task is assigned, it will automatically appear in the responsible contributor's calendar.
4. Further Specify Your Project
To inform your team exactly what is entailed in your project and to include extra details you can add tags and project descriptors for added visibility on your project.
 Under the project title, you can add a description and add tags. This is where you can add, remove and manage certain tags, whereas the description provides added clarity on a project.
5. Get More Eyes On Your Project
Use Marketing Calendar to assign tasks to other teammates who are working with you on the project. If you need another set of eyes to review your letter, you can delegate an “Edit” task to another contributor. Select a contributor to the task so they automatically get notified. avoiding lost emails, messages, and wasted calls to ensure they received the task.